Steps
- Go to Settings → Search Behavior.
- Select language, out-of-stock product visibility, and image search preferences.
- Configure combined listing display, excluded tags, and other options as needed.
- Save changes and, if prompted, run a quick sync.
Search strategy
The Search Strategy setting controls how broadly Layers looks through your catalog before ranking results. Each preset is a trade-off between latency and recall — a wider search finds more candidates but takes longer to return. Available strategies:- Fast — returns results as quickly as possible. Best when shoppers usually search for exact products or SKUs, and for smaller catalogs where a narrow candidate pool is enough.
- Balanced (default, recommended) — a strong default for most stores. Looks broadly enough to find good matches while keeping search fast.
- Deep — looks through more products before choosing results. Useful when shoppers use broad or vague terms, and for larger catalogs with varied assortments.
- Exhaustive — uses the widest search. Choose this when finding the best possible match matters more than speed, typically on very large catalogs.
- Go to Settings → Search Behavior.
- Find the Search Strategy card.
- Select Fast, Balanced, Deep, or Exhaustive.
- Save your changes.
Out-of-stock product visibility
Control how out-of-stock products or variants appear in search results. Select one of the following options:- Not at all — hides out-of-stock products entirely from search results.
- At the end — shows out-of-stock products, but demotes them to the bottom of results.
- Mixed with all other results — shows out-of-stock products alongside in-stock products with no rank penalty.
These settings apply to search results only. Browse (collection page) results are not affected by store-level out-of-stock visibility — the Shopify collection itself controls which products appear. To hide out-of-stock products on a per-request basis for browse, use the
forceHideOutOfStock parameter in the Browse API. For blocks, use the Hide Out of Stock safeguard in the block configuration.Location-based stock check
When you select Not at all or At the end, a location picker appears below the stock display options. This lets you evaluate stock availability at specific Shopify locations rather than using global availability. The example below shows how to open Search Behavior and pick the inventory locations used for search stock checks.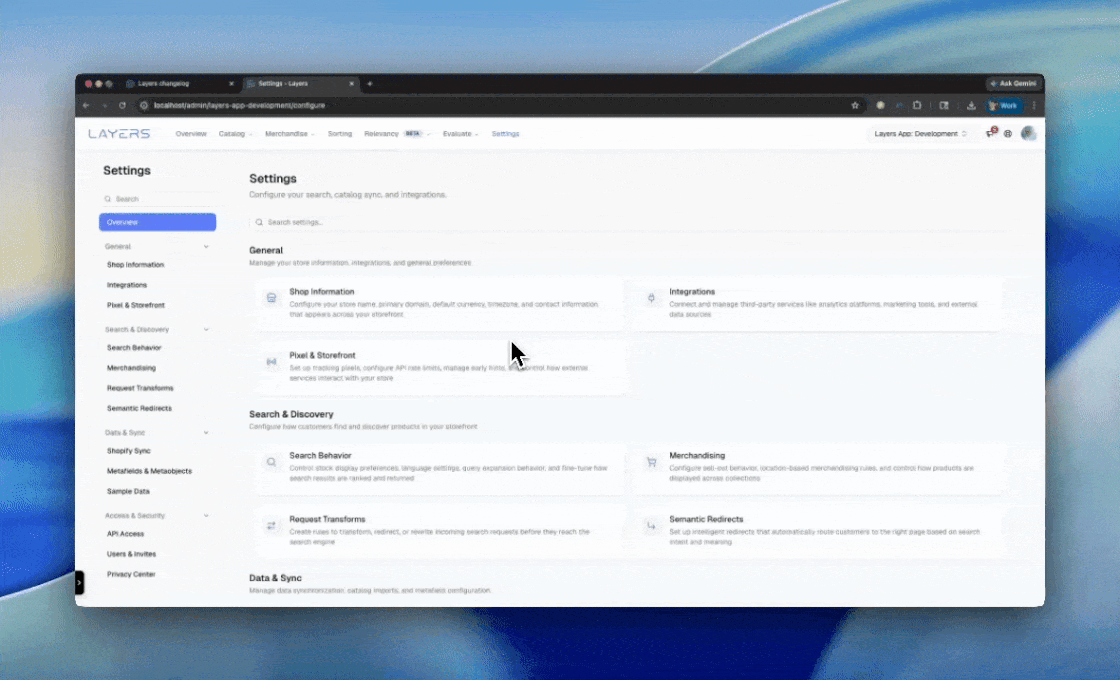
- With Not at all, products that have zero inventory at every selected location are hidden from results — even if they are technically available at other locations.
- With At the end, products with no inventory at the selected locations are pushed to the bottom of results.
- Go to Settings → Search Behavior.
- Under Stock Display, select Not at all or At the end.
- Click the location picker that appears below the stock options.
- Search for locations by name, city, country, or ID and select the ones you want to check against.
- Save your changes.
Only active Shopify locations appear in the picker. If you don’t see a location, verify that it is active in your Shopify admin.
Combined listings display
If your store uses Shopify combined listings, you can control how parent and child products appear in search results:- Only show parent products — returns only the parent listing in results.
- Only show child products — returns only the child products.
- Show both (default) — returns both parent and child products.
Image search configuration
The image embedding configuration controls which product images Layers uses to generate embeddings for visual search. By default, new stores use both the product featured image and variant featured images. You can change this in the image search preferences section of the search behavior settings. Available options:- Both (default) — uses the product featured image and all variant featured images for visual search matching.
- Product featured image — uses only the main product image.
- Variant featured images — uses only variant-specific images.
- All — uses every image associated with the product and its variants.
Disable variant-level embeddings
By default, Layers generates a separate text embedding for each product variant in addition to the product-level embedding. Per-variant vectors improve recall when a variant option carries real meaning like gemstone, color, or material. For example, a search forruby matches the ruby variant.
For catalogs whose variant options are pure SKU dimensions like size, frame, or length, the per-variant vectors are near-duplicates of the product-level vector. They add noise to candidate retrieval and can dilute relevancy without improving it.
The Disable variant-level embeddings toggle in Search Behavior → Images to Search By turns off per-variant text embeddings for the whole store:
- When on, Layers skips per-variant text embeddings and only generates the product-level text embedding. Existing per-variant text vectors are removed from the search index in the background.
- When off (the default), Layers generates one text embedding per variant alongside the product-level embedding, and regenerates any vectors that were previously stripped.
- Go to Settings → Search Behavior.
- Scroll to the Images to Search By card.
- Toggle Disable variant-level embeddings on or off.
- Save your changes.
App sales channel
If your store has a mobile app (such as Tapcart, Fuego, or Canvas), you can specify which Shopify sales channel represents your app storefront. When configured, Layers uses this channel to determine which products are visible to app users — only products published to the selected channel appear in app search, browse, and block results. To configure the app sales channel:- Go to Settings → Search Behavior.
- Scroll to the App Sales Channel card.
- Select your app’s sales channel from the dropdown. Layers loads all available channels from your Shopify store automatically.
- Save your changes.
If no app sales channel is configured, app requests fall back to default channel filtering behavior. For more details on how channel visibility works, see Sales channel visibility.
Search excluded tags
You can configure custom product tags that exclude products from the searchable database entirely. Products with any of these tags will not appear in search results. To add custom excluded tags:- In the Search Excluded Tags section, enter a tag name in the input field.
- Click Add or press Enter to add the tag to the list.
- To remove a tag, click the X button next to it.
- Save your changes.
hide, layers-ignore). Tag matching is case-sensitive. Products with newly excluded tags won’t be removed from search until they’re re-indexed via webhook or bulk operation.
Real-time query expansion (deprecated)
The search behavior settings include a Real-Time Query Expansion toggle. When enabled, the search engine generates query expansions on the fly using an LLM for each search request. When disabled (the default), Layers uses only pre-computed query expansions. Pre-computed expansions offer faster response times and more predictable behavior. If your store currently has real-time query expansion enabled, you should switch to pre-computed expansions by disabling this setting. To disable real-time query expansion:- Go to Settings → Search Behavior.
- Find the Real-Time Query Expansion card.
- Click Disable to switch to pre-computed expansions only.
- Save your changes.
Real-time intent modifiers
The search behavior settings include a Real-Time Intent Modifiers toggle. When enabled (the default), Layers can generate intent modifiers at search time using an LLM if no stored modifier matches the query. When disabled, the search engine only uses previously saved intent modifiers and skips real-time generation entirely. Use this setting to limit a store to pre-computed intent modifiers when you want predictable, lower-latency search behavior or when you want to fully control which queries trigger promotions, demotions, or filters. When real-time intent modifiers are off:- Stored intent modifiers continue to apply when their associated query matches.
- Queries without a stored match return no intent modifier actions.
- Search latency drops because the engine skips the LLM call that generates new modifiers.
- Go to Settings → Search Behavior.
- Find the Real-Time Intent Modifiers card.
- Select Disable to limit the store to stored intent modifiers only.
- Save your changes.
Seeded search data
Sample data lets you show realistic search results while your catalog is still empty or syncing. Upload a JSONL file of historical search terms and Layers uses it to seed query clusters, autocomplete suggestions, and baseline ranking signals. Most stores don’t need to do this manually — Layers imports the last 30 days of Shopify search history automatically during onboarding. Use the upload only when the automatic import returned few terms, when you want to seed a longer window of history, or when you’re bringing search data over from another platform.JSONL format
Each line of the file must be a JSON object with these three fields:| Field | Type | Description |
|---|---|---|
search_query | string | The search term a shopper entered. |
searches | integer | Number of times the term was searched. |
day | string | The date the searches occurred, in YYYY-MM-DD format. |
Upload a file
- Go to Settings → Sample Data → Upload Sample Data.
- Click Choose File and select your
.jsonlexport. - Wait for the File format validated successfully confirmation.
- Click Upload. Layers processes the file in the background and shows progress on the Sample Data page.
- Rows read — total lines Layers read from your file.
- Imported — how many unique query rows landed in the seeded dataset after deduping near-duplicates and dropping terms searched fewer than three times across the whole file.
Tip
- After changes, use Test text search in Lab to test a few searches.